We-Ko-Pa Golf Club – Saguaro Course (Fort McDowell, AZ)
Par 71
6,966 yards
Architect: Coore & Crenshaw
Public – Opened in 2007 (Rates vary between $75 and $225 for visitors and $45 to $110 for AZ residents)
TWG Paid: $75
We-Ko-Pa Golf Club consists of two courses – The Cholla and The Saguaro. The club, along with the adjacent hotel and casino, are owned by the Fort McDowell Yavapai Indian Tribe. The Cholla course was designed by former Nickalus associate Scott Miller and opened in 2002. It is a good course that represents fairly typical “desert target golf” and it is also a rather challenging walk. Saguaro, on the other hand, was designed for walkability by arguably the best modern golf architecture firm in the world – Coore & Crenshaw.
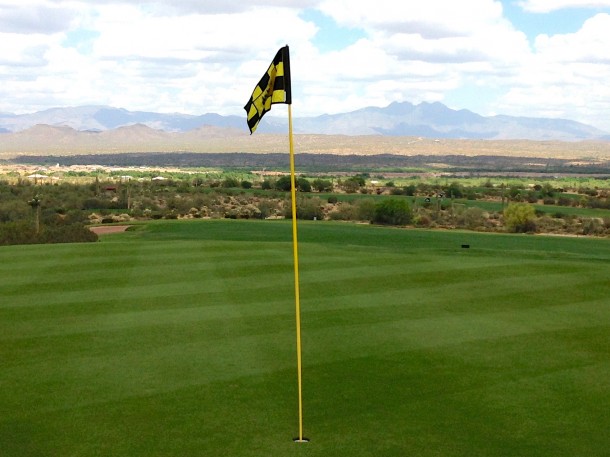
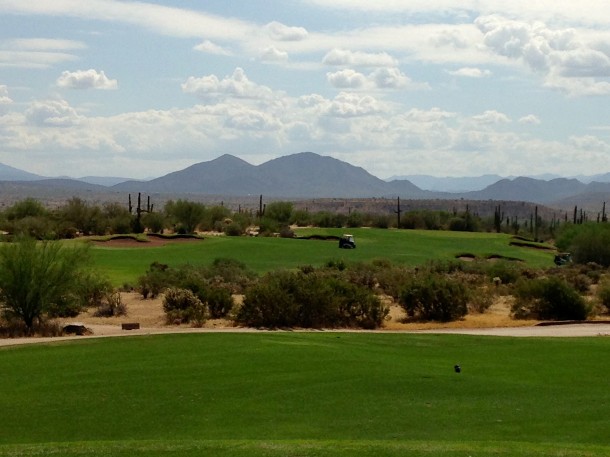
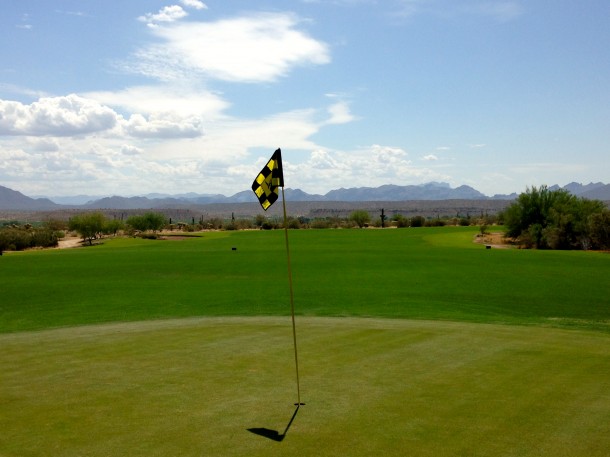
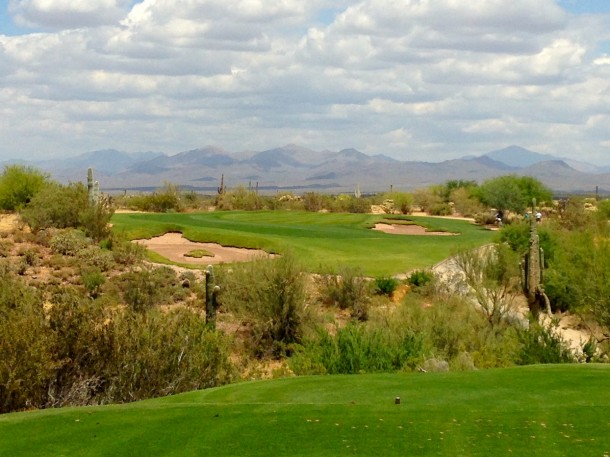
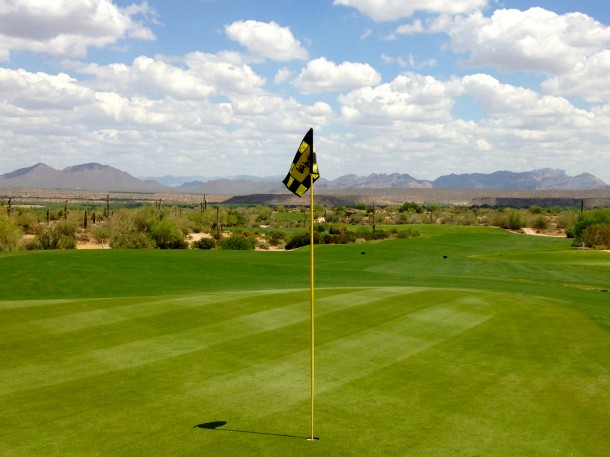
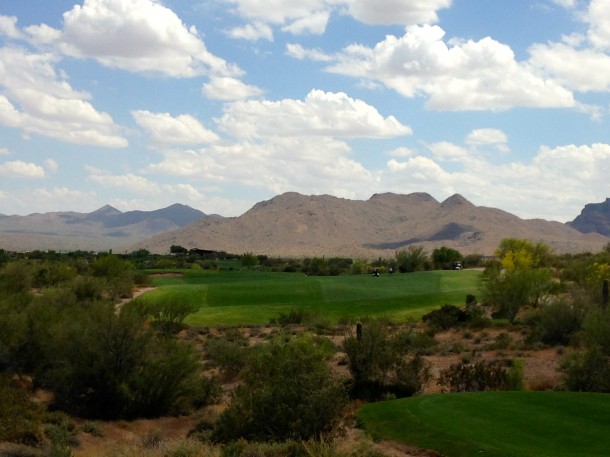
We-Ko-Pa Saguaro is located in a beautiful Sonoran Desert setting with mountain and mesa vistas on every hole. This photo was taken from the 16th green which is probably the highest point on the course.
Having played most of the “good” public courses in the Scottsdale area, I would rate Saguaro as the best. Talking Stick North and South, along with Papago, are probably more walkable, but Saguaro combines walkability and design better than the others. In fact, this course rivals all of the private clubs in the Valley of the Sun for top honors. If you are visiting the Phoenix/Scottsdale area I would highly recommend a visit to Fort McDowell so you can play Saguaro and enjoy the walk.
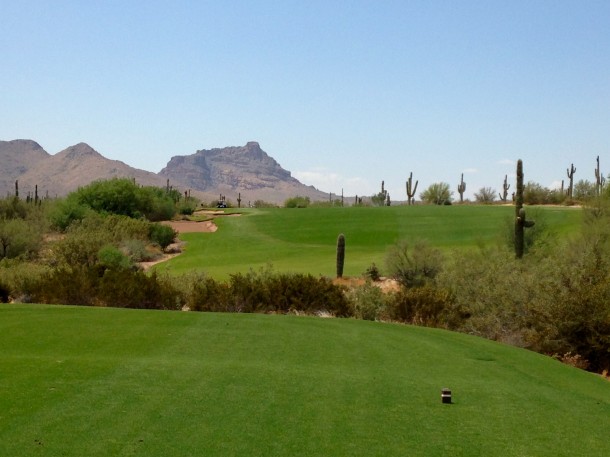
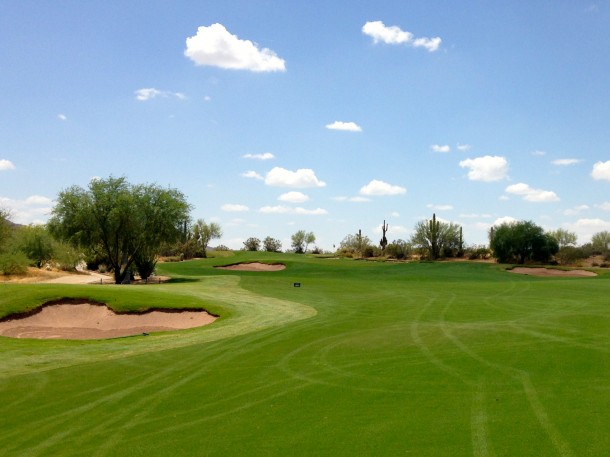
Hole #1 – Par 4 (469 / 330 yards)
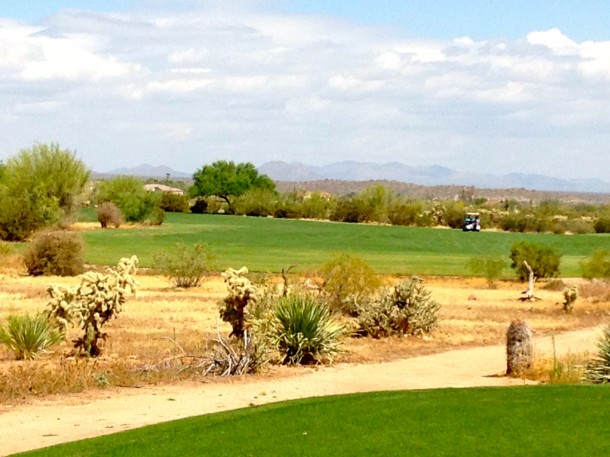
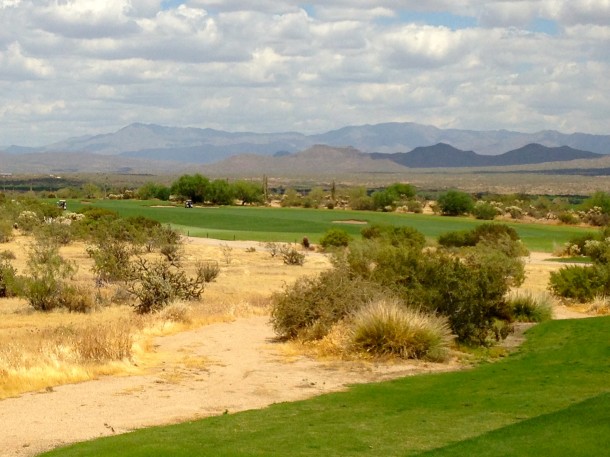
The 1st introduces some elements that will be seen throughout the round – Carries over desert brush and cacti, along with wide fairways with clear strategic benefits if you place your tee ball correctly in the short grass. There are walking paths cut through the desert just for us.
A draw to the left side of the fairway off the tee leaves the ideal approach. The ground is firm enough that a low flighted iron can run up onto the green. A design element rarely experienced in the desert (unfortunately).
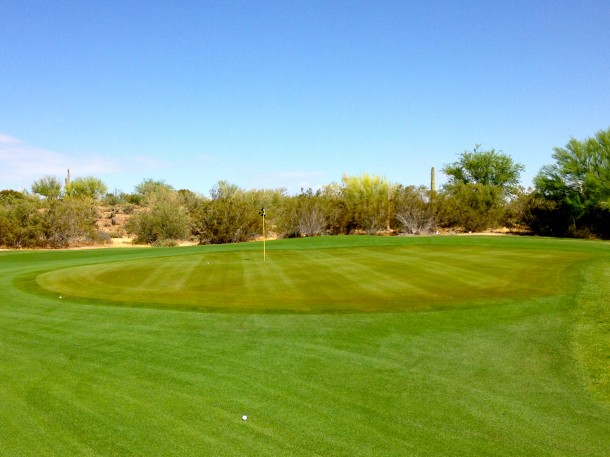
The greens on the Saguaro course are excellent and classic C&C. A mix of false fronts, undulations, slopes and ridges will be experienced throughout the round. The ball about 10 feet from the hole landed 20 yards short and ran on.
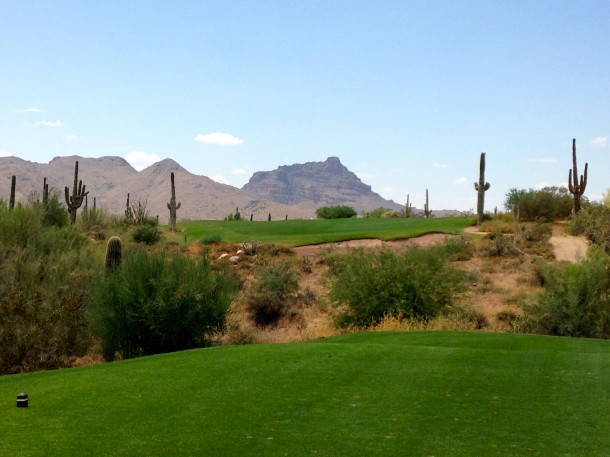
Hole #2 – Par 4 (336 / 213 yards)
The 2nd is an excellent short par four that, if anything, comes a bit too early in the round. If you feel warmed up and confident then the green is certainly drivable. If you slice it right or hook it past the bunkers then you will probably lose a ball. A fantastic risk/reward hole!
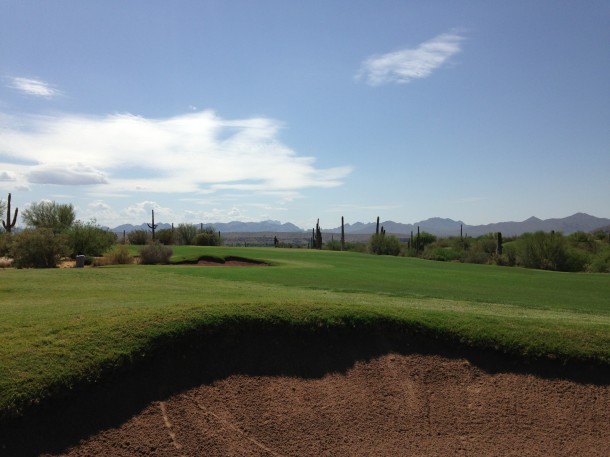
From the bunkers, it looks like you are hitting into an infinity green. Long or right is not good – the best place to miss is left of the putting surface.
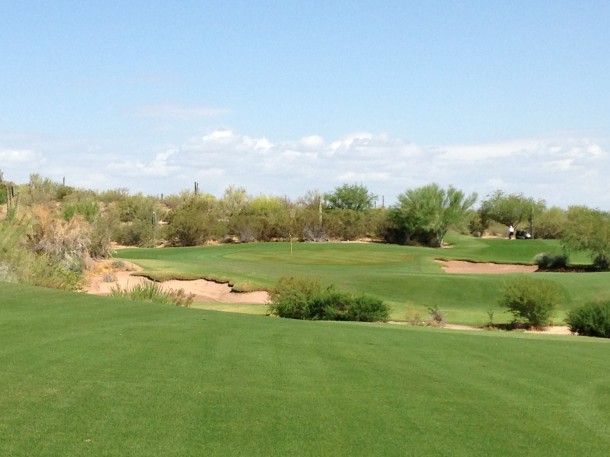
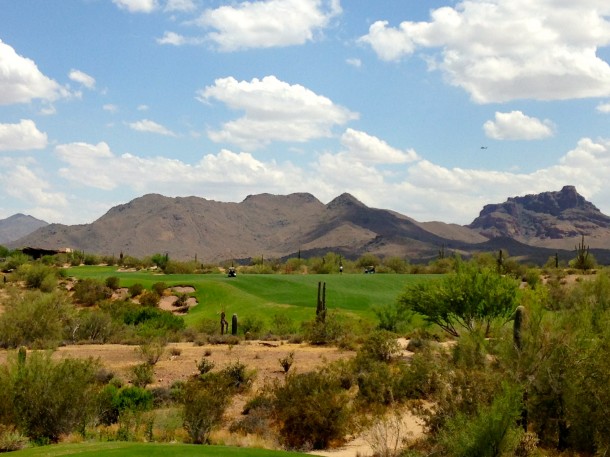
Hole #3 – Par 4 (416 / 320 yards)
The 3rd is a dog leg left and the best line off the tee is over the shrubs adjacent to the left edge of the fairway . . . if you can carry them.
A solid drive over the corner will leave a wedge into the green, with a clear view of the flag.

If you push the drive to the right side of the fairway, or the rough, then the approach becomes longer and more daunting, especially with a back pin which brings the greenside bunkers into play.
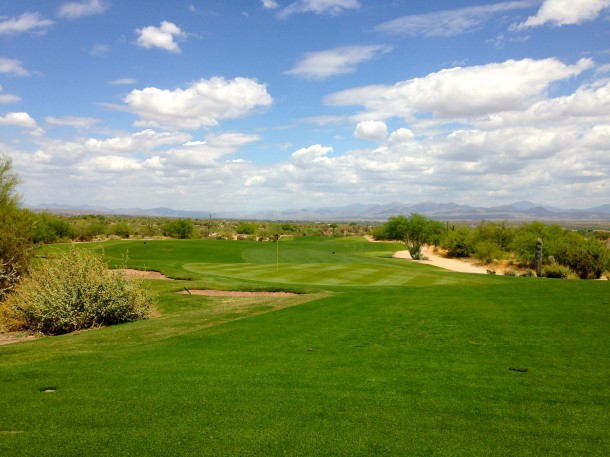
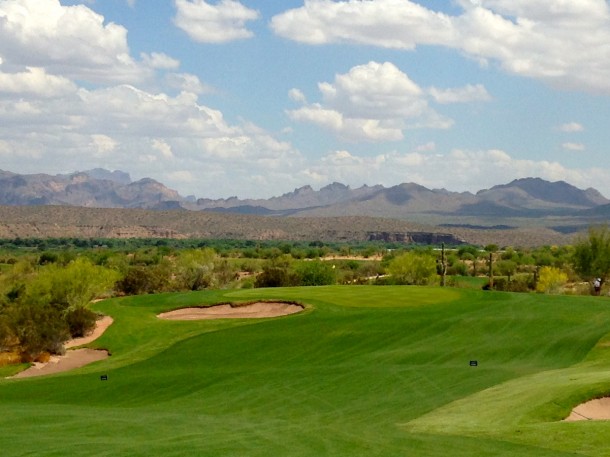
Looking back, the strategy of the hole is clear. As is a spectacular panoramic view of the mountains across the valley.
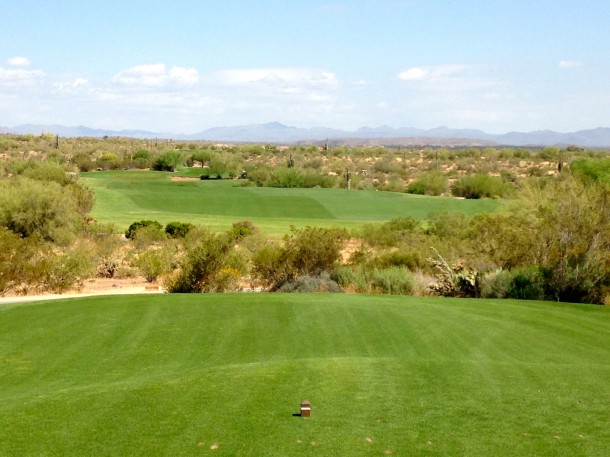
Hole #4 – Par 5 (631 / 494 yards)
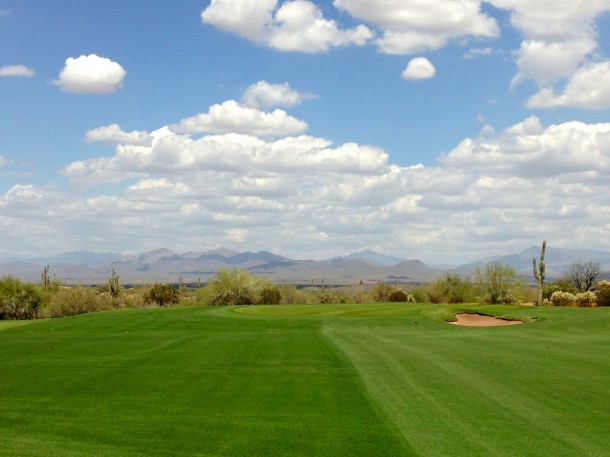
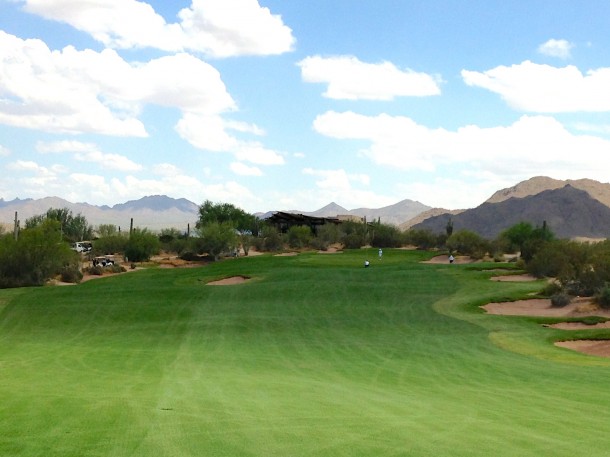
After a couple of birdie opportunities on #2 & #3, C&C turn up the heat on the 4th which is a long par 5 that you can probably only hit in two if playing downwind. Avoiding the center line fairway bunker is vital. The white shed in the distance is the ideal line.
After a big drive, there is still a lot of ground to cover as the fairway tumbles down and around to the left.
Hole #5 – Par 3 (178 / 89 yards)
The 5th consistently plays one club longer than the distance would indicate. The green has several tiers that can make chipping and putting very challenging. It looks fairly straight forward but par is a good score here.
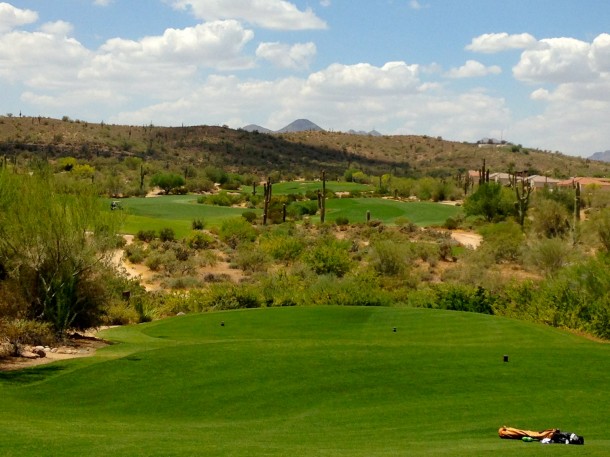
Hole #6 – Par 4 (442 / 383 yards)
The par 4 6th and 7th call for similar shot shapes off the tee but the lengths and approach shots are quite different. The green on the 6th is open with no bunkers protecting the putting surface.
Hole #7 – Par 4 (331 / 275 yards)
The 7th is almost drivable downwind – but you need to be careful of a center line bunker about 80 yards shorts of the green.
A 3 wood might be the best play off the tee, leaving a 90ish yard approach to a great little green complex protected by two bunkers.
Hole #8 (515 / 356 yards)
The par five 8th requires a long drive across the wash aimed at the far bunker on the right side of the fairway. The green is reachable with two well played shots.
The green is open to a draw, but it is a tricky putting surface that slopes from back to front with a ridge running through it that can play havoc with longer putts.
Looking back, it is evident how C&C used a small’ish green, bunkers and elevation to make the hole more challenging.
Hole #9 (137 / 106 yards)
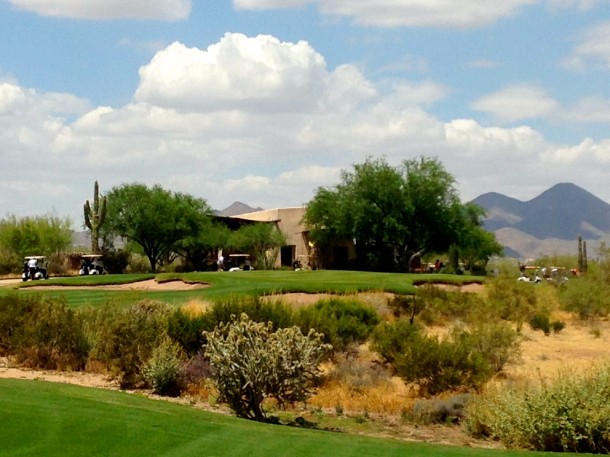
The short par three 9th looks like a great chance for birdie, but if you miss in in the deep bunkers then bogey comes quickly into play. This is a gem of a hole that can turn the screws if you are not careful.
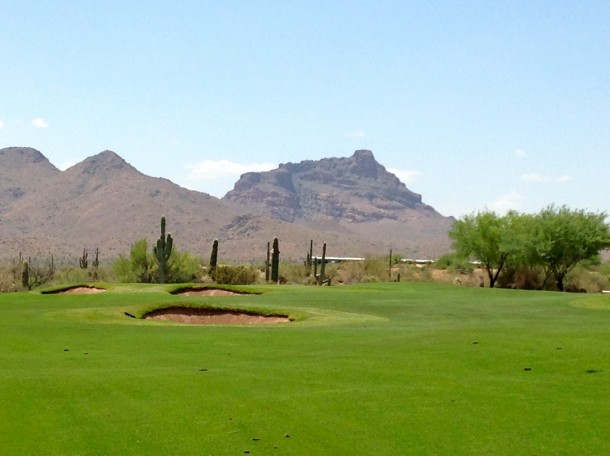
Hole #10 – Par 4 (337 / 214 yards)
The back nine starts with a smashing drivable par 4 with a phenomenal coffin shaped bunker fronting the horse shoe green which can cause the golfer fits.
Hole #11 – Par 3 (197 / 154 yards)
Hopefully you made the most of your birdie chance on the 10th, because the one shot 11th is long with and difficult. Left of the putting surface is the optimal miss. This is a long green that puts a premium on correct club selection and shot execution.
Hole #12 – Par 4 (476 / 332 yards)

The par four 12th is all in front of you. The approach will likely need to carry a bunker fronting the green. The land slopes off to the left so a miss long and right is best. The green slopes from back to front.
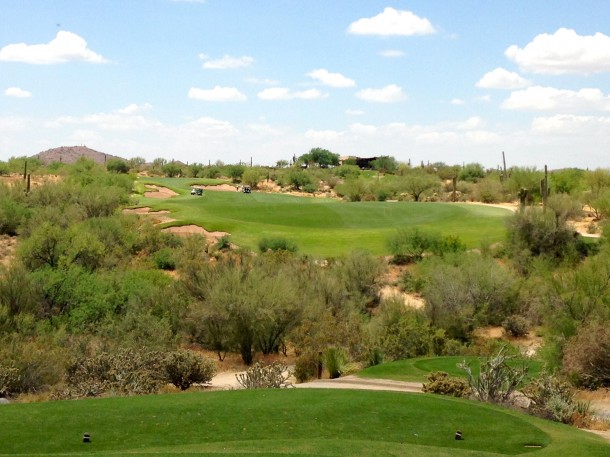
Hole #13 – Par 4 (470 / 324 yards)
The 13th has Cape Hole elements as the golfer is rewarded for playing as closely as possible to the desert running up the left side. A hard draw can cover some serious ground and leave a short approach while anything pushed right will result in a daunting second with a bad angle.
A drive landing on the left side of the fairway leaves an open approach to the green, while a second from the right has to flirt with the greenside bunker. Any approach that draws too much might run down to the 14th tee which is just left of the green.
Hole #14 – Par 5 (538 / 433 yards)
The 14th is a really cool par 5 with a dual fairway. Playing to the left side is safer but leaves a longer uphill approach to the green. The “island” fairway on the right provides a nice line up the gut of the green and a better chance at eagle, but the landing area is constricted with danger on both sides.
Looking back, it is hard to see the “island” fairway. The green is steeply sloped which makes it challenging to get the ball all the way back to a rear pin. Putting to a front bin from the back is also nerve rattling.
Hole #15 – Par 3 (255 / 114 yards)
The 15th is a wonderful long downhill one shotter that has plenty of room right of the green and very little to the left. The grass slopes down from the right and can feed the ball nicely onto the putting surface, especially when playing a low lofted club from the tips. Both the hole and the view are brilliant.
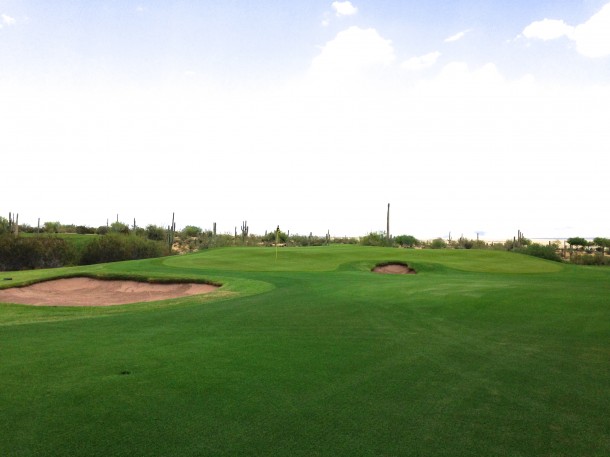
Hole #16 – Par 4 (328 / 279 yards)
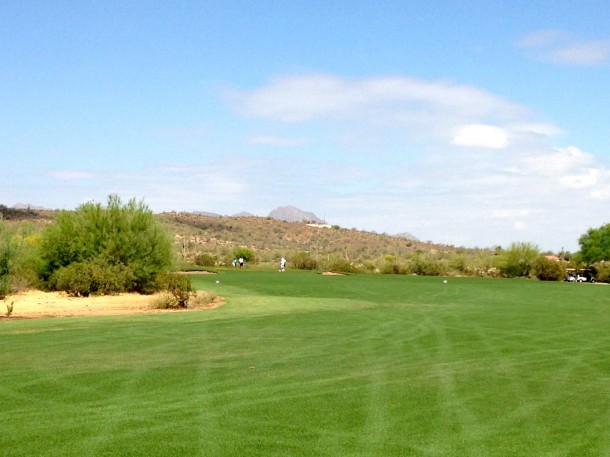
The 16th is a unique uphill short par 4 that, frankly, is excellent. With a tailwind it is almost drivable, while into the wind it requires a driver or 3 wood followed by a wedge or short iron. The bunkers running up the right side of the fairway punish the golfer who tries to take the shortest route possible.
Club selection is very important on the approach. The front bunker must be carried, but the green slopes sharply from back to front and it is best to putt from below the pin. Saguaro has three fantastic 330ish yard par 4s that all play differently.
Hole #17 – Par 4 (402 / 334 yards)
The penultimate hole is no pushover. A long drive can carry the top shelf of the fairway and run down to wedge distance. However, playing from above has its advantages so club selection is, once again, important.
An approach from the valley below is uphill, with a bunker staring you in the face. From above, the golfer has a clear view of the pin and how to shape the shot to get it close.
Hole #18 – Par 4 (508 / 411 yards)
The final hole is a long par 4 that calls for a strong right to left drive for maximum distance.
Anything in the fairway leaves a great look into the green which is open on the front. There is a bunker and some junk on the right and a fall off short and to the left. It will take two solid shots to provide an birdie putt to finish out the round. I have seen plenty of 7s and 8s here along with 3s & 4s. A solid hole to finish out the round.
We-Ko-Pa Saguaro is probably the best golf course, public or private, in Phoenix/Scottsdale. It is not as easy to walk as C&C’s courses at Talking Stick, or the Phoenix parkland style private clubs, which are built on totally flat land, but the quality of the course and rolling terrain make Saguaro a most enjoyable walk nonetheless.
TWG’s overall score for Saguaro is the same as Talking Stick – North because of the variance in walkability. TS-N records a perfect score in this category while Saguaro receives a very respectable 3.5 out of 4. Most of the green to tee transfers on Saguaro are short, with the longest probably being just over 100 yards from 11 to 12 and the most challenging from 14 to 15 which is just under 100 yards with an uphill climb.
The Architecture and Aesthetics at Saguaro rivals any course in the area. The views at Estancia are probably better, but the course is routed through housing (quite well) and does not flow as naturally over the land. The architectural design at Desert Forest is probably more interesting in spots, but the holes at Saguaro are more varied, as is the terrain, and thus more enjoyable on the whole. Southern Dunes has some strong holes, but it is neither as consistent, natural nor compelling as Saguaro. And, as mentioned, Talking Stick North is a wonderful course on flat land, but several stretches are a bit repetitive because the architects had limited options with the terrain.
C&C have once again stuck to their minimalist design principles and created a course that Alister MacKenzie would be proud of – It has plenty of room for the high handicapper off the tee, but to score well the golfer must place their ball properly on the fairway to take advantage of the best line for approaches. Strategy is important on every hole, with optimal driving lines and bail out options around the greens. The course cannot be considered “firm and fast” but the ground is usually hard enough to hit low running shots, or use slopes, that behave as expected.
We-Ko-Pa Saguaro is a must play. It shows how much can be done with the excellent terrain in the Scottsdale area and I wish there were a lot more courses like it in the desert.
TWG Walkability Rating for We-Ko-Pa Saguaro: 3.5 out of 4
Photos by Rob Rigg (2013)
Review by Rob Rigg (2013)
I love WeKoPa Saguaro… In my top five courses I’ve ever played. I love the variety of the par 3’s (with all of them facing different directions) but something that has been discussed at length on other websites and something I agree with is how out of place I feel the 9th hole is in an otherwise stellar routing. It’s like C&C said, “Well, we wanted to put 8 where it is and we have 150 yards here.” What are your feelings on that hole?
I think the 9th could be seen as a weakness – But, it is also a great little short par 3 that should be a birdie or par but can rapidly turn into a bogey or worse. If that hole was away from the clubhouse and traffic then it probably would not receive as much flak. As you mentioned, the one shotters at Saguaro vary from 120 yards to 240 yards which is great – I don’t think I have ever hit the same club into two of the par 3s on the same day, that is a real design strength IMO. I have read that the 9th is a favorite of Bill Coore because it looks tame but doubles pile up there!