Talking Stick Golf Club – North Course (Scottsdale, AZ)
Par 70
7,133 yards
Architect: Coore & Crenshaw
Public – Opened in 1998 (Rates vary between $40 and $175 for visitors and $25 to $130 for AZ residents)
TWG Paid – $110
Talking Stick Golf Club is part of Talking Stick Resort and Casino, which is owned by the Salt River Pima-Maricopa Indian Community. The golf club consists of two eighteen hole public golf courses that were both designed by Coore & Crenshaw who are arguably the best minimalist golf architecture firm in the business. The North course tends to get more praise than the South, which is deserved, but both are good courses and quite unique in the Phoenix/Scottsdale area because they were constructed on completely flat land. A well known golf architect once told me to visit Talking Stick – North if I wanted to see how to create an excellent golf course on flat property and he was absolutely right. C&C did an excellent job of creating strategy and interest on what many would consider a boring site.
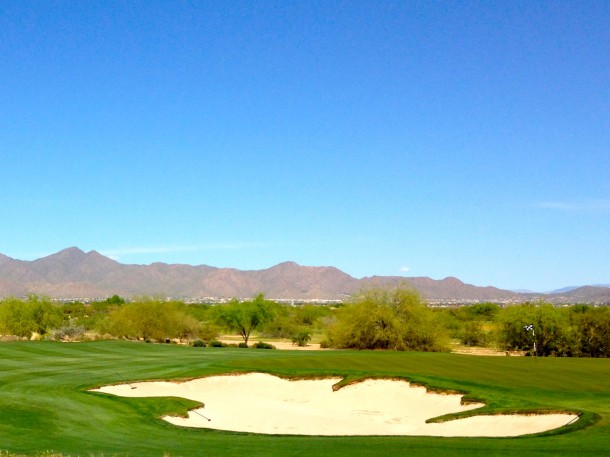
Looking back across the 18th green towards the mountains after a most enjoyable walk.
Talking Stick – North is a “must play” if you are in the Phoenix/Scottsdale area. I hope that the photo tour below will peak your interest as this is one very enjoyable walk.
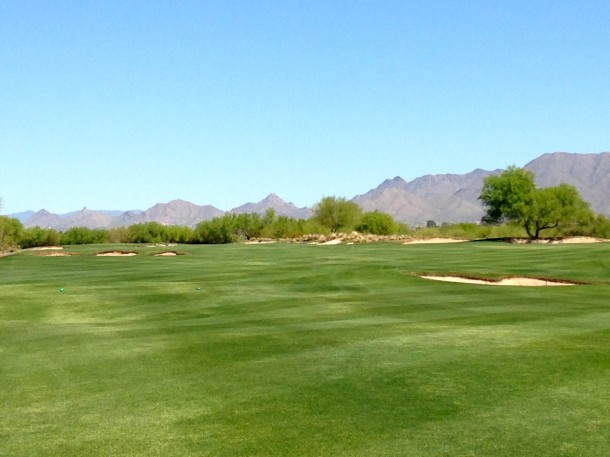
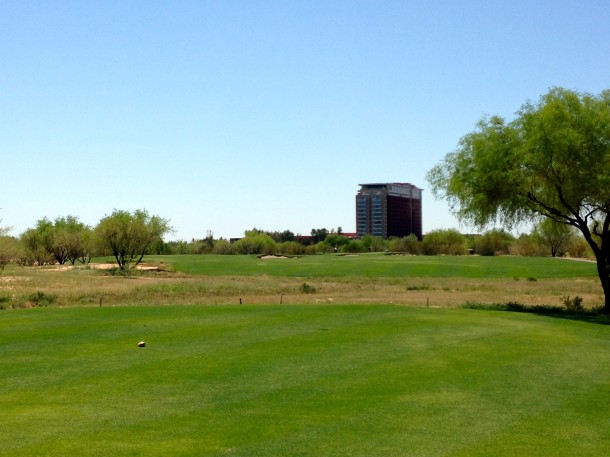
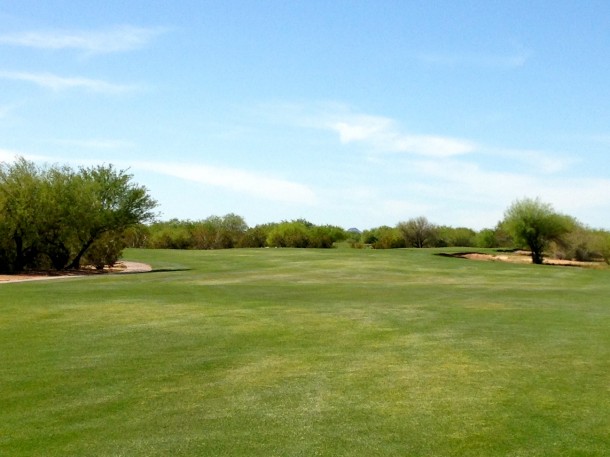
Hole #1 – Par 4 – “Papago Buttes” (394 / 312 yards)
The round starts with a friendly opening Par 4 with plenty of width. The hole doglegs gently to the left.
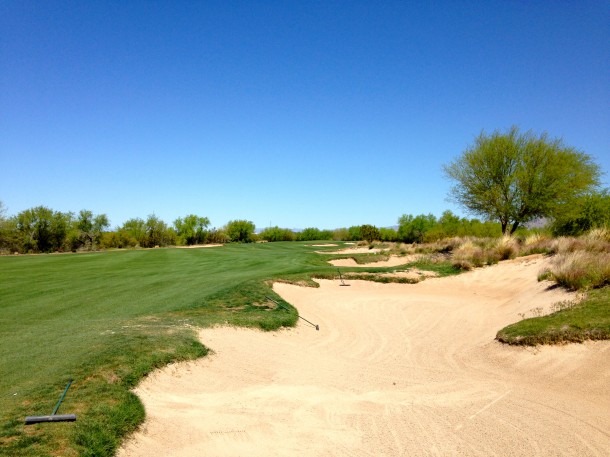
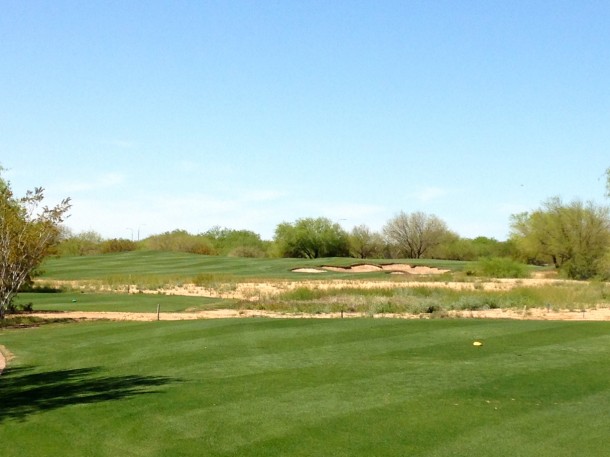
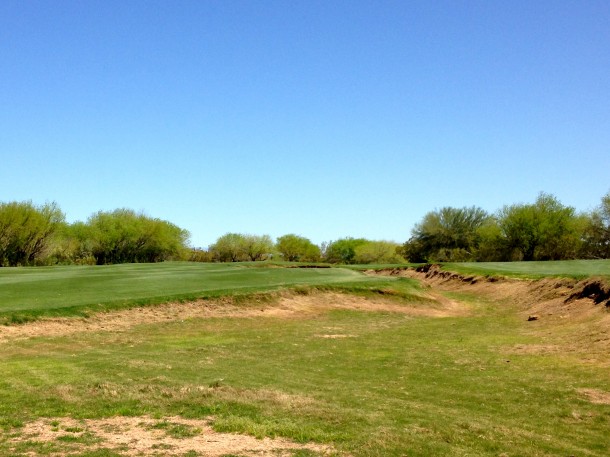
Hole #2 – Par 5 – “Boundary” (552 / 449 yards)
The Par 5 second is an excellent hole. The architects used the boundary fence to great effect – which is rare. The benefits of hugging the fence with your drive are apparent . . .
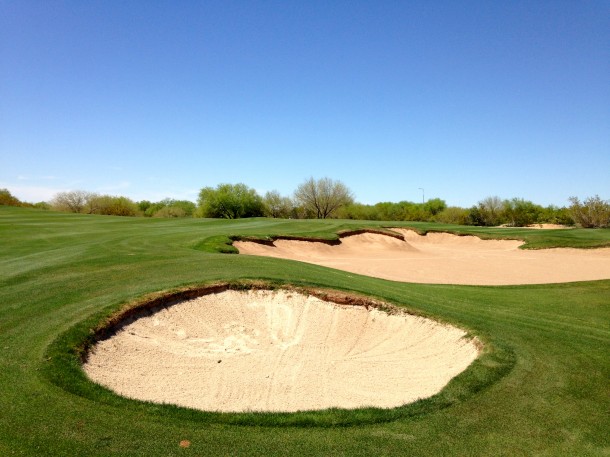
. . . when you see the two bunkers by the green that dictate strategy for the hole. Close to the fence leaves a clear approach to the small green, while a safe drive and lay up to the right leaves a challenging shot across the bunkers with OB lurking a few yards off the putting surface.
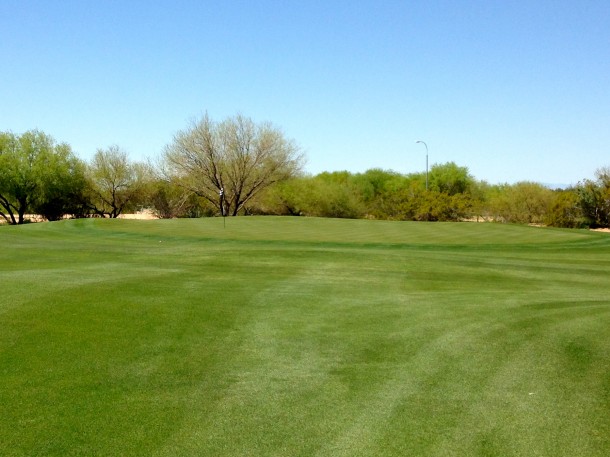
Hole #3 – Par 4 – “Sand Hills” (450 / 375 yards)
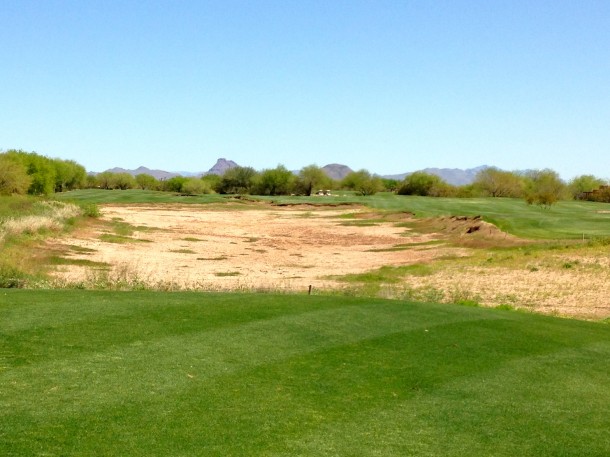
There is a MacKenzian flavor to the 3rd with the two fore bunkers. Again, the boundary fence lurks left, while a chain of bunkers await a sliced or pushed drive to the right.
The long line of bunkers creates a very difficult recovery shot after an errant drive.
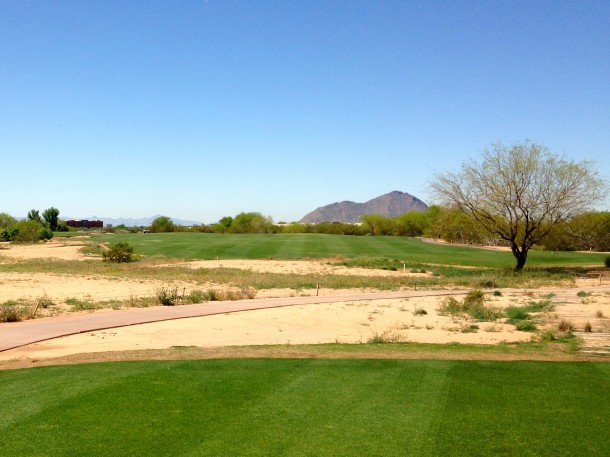
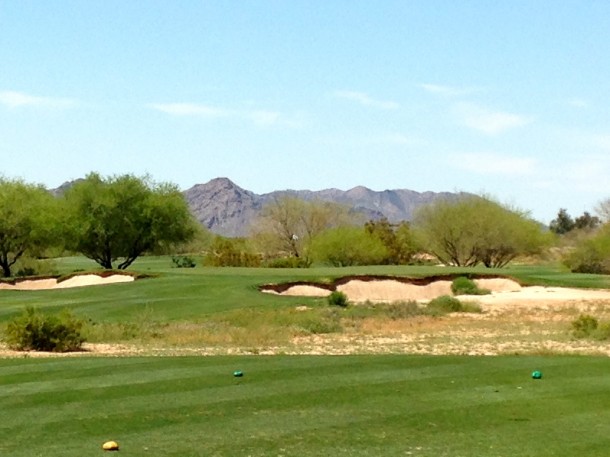
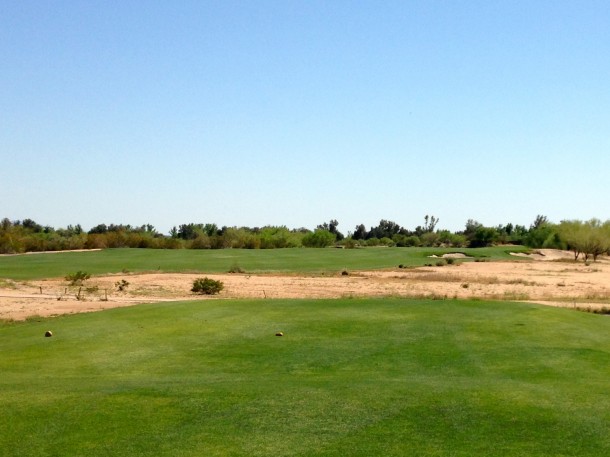
Hole #4 – Par 4 – “Three Roads” (433 / 337 yards)
The 4th has one of the most heart pounding tee shots on the course. There is room to bail left, you can take on the bunker 250 out, or you can play between the bunkers (straight at the green in the distance) with a 200 yard carry.
After taking on the waste area and bunkers the golfer is left with a short iron approach. However, if you bailed left then a set of forebunkers come into play which add another element of difficulty to the hole.
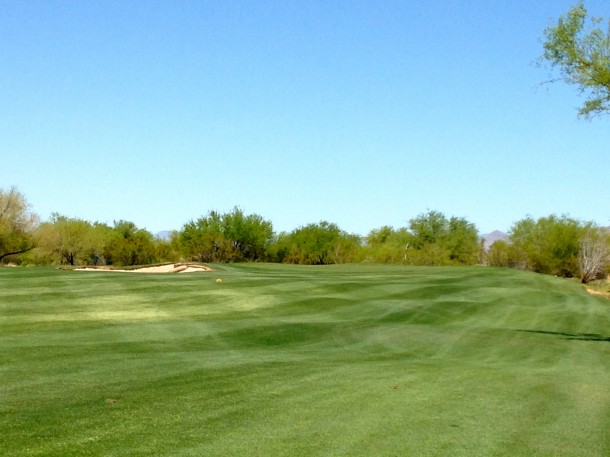
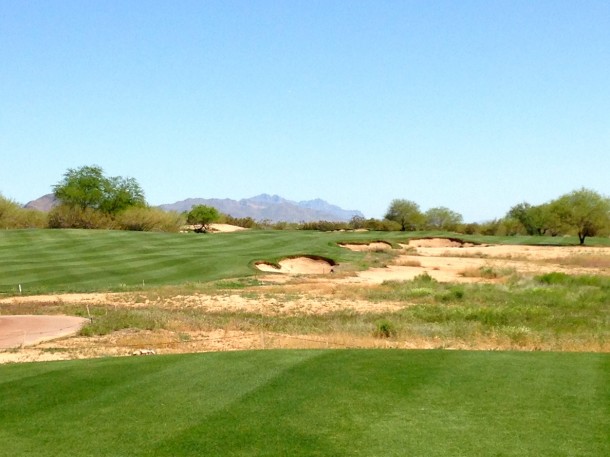
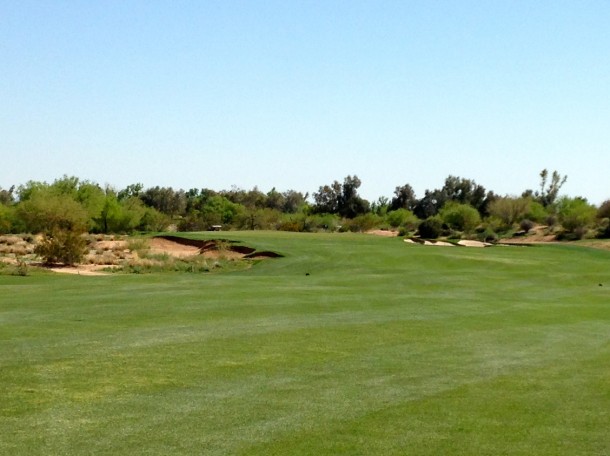
Hole #5 – Par 4 – “Left is Right” (391 / 277 yards)
The center line bunker is about a 250 yard carry from the tips and must be avoided. An approach angle from the left side is better than the right.
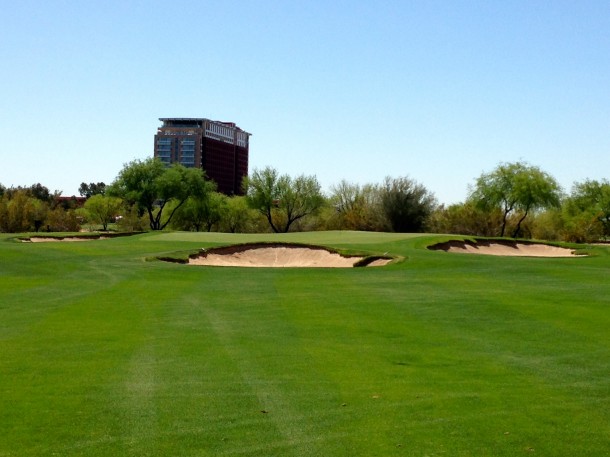
The 5th green has a bunker placed about 10 yards short of the putting surface and two more on either side.
Hole #6 – Par 3 – “Draw” (223 / 147 yards)
The 6th is a formidable one shotter that calls for a right to left long iron off the tee to a 40 yard deep green.
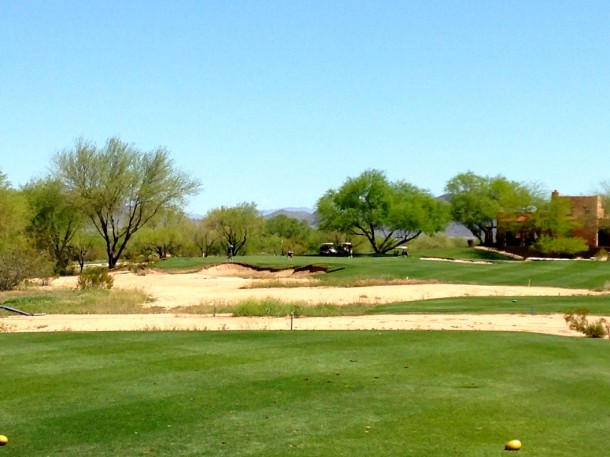
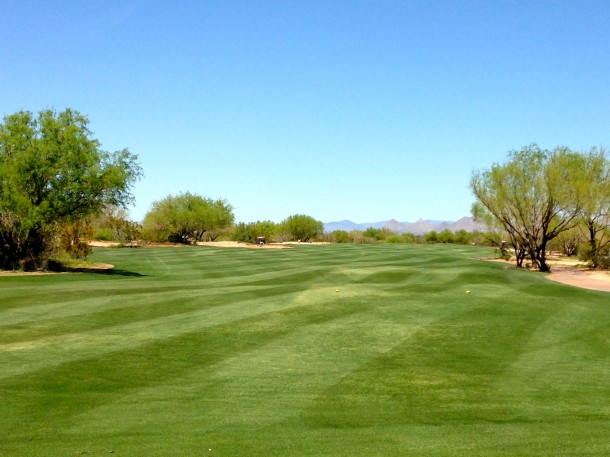
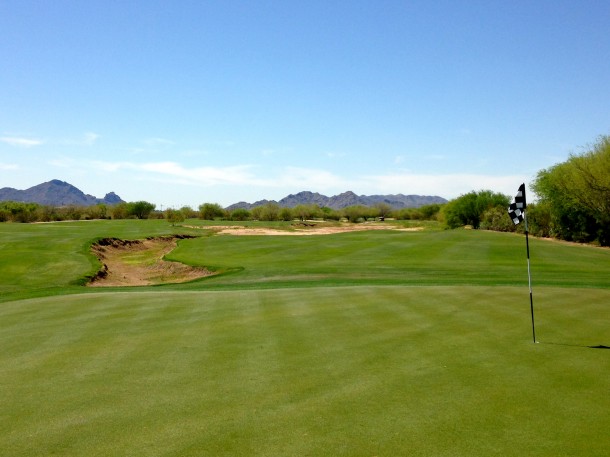
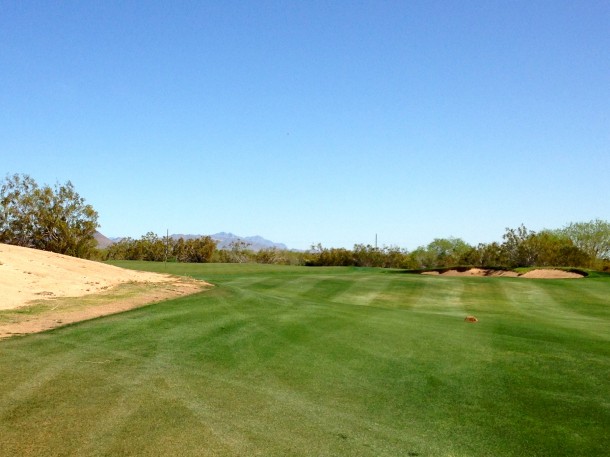
Hole #7 – Par 4 – “The Ditch Hole” (457 / 325 yards)
The 7th is a long par 4 with a ditch running up the right side and bunkers on the left. The green is located below Pinnacle Peak in the distance.
The right side of the fairway leaves an ideal approach to the green – But the land moves towards the wash and a drive too close to the edge will kick into the ditch.
Hole #8 – Par 3 – “Mummy Mountain” (153 / 118 yards)
The par 3 eighth is the easiest one shot hole on the course – usually just a short iron.
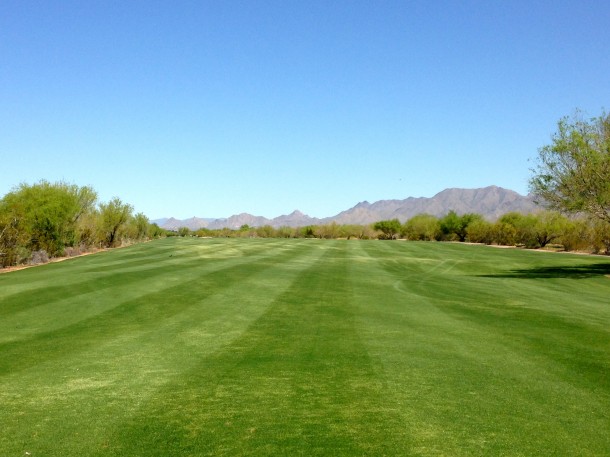
Hole #9 – Par 4 – “Southern Exposure” (446 / 331 yards)
The seventh, ninth and tenth have a similar longish par 4 vibe. The only difference on the ninth is that it takes you back to the clubhouse while 7 & 10 play north towards the boundary fence.
Hole #10 – Par 4 – “Pinnacle Peak” (437 / 353 yards)
Ten is another fairly long par 4 with a wide fairway and bunkers on both sides in the landing area.
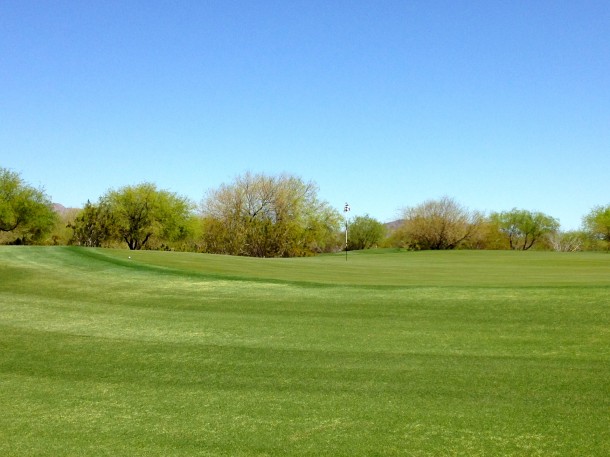
The bunkerless 10th green has classic C&C movement – some slope combined with subtle countours
Hole #11 – Par 3 – “Brassie” (261 / 182 yards)
The back nine starts to heat up with the par 3(.5) eleventh which can demand a driver if the wind is up.
Anything really short ends up in the waste area of one of these bunkers which leaves a brutal recovery.
The architects made room for the golfer to run the ball left to right across the fairway onto the green. If you take it directly at the pin from the tee there is about 30 yards to work with between the bunkers and the 35 yard deep green.
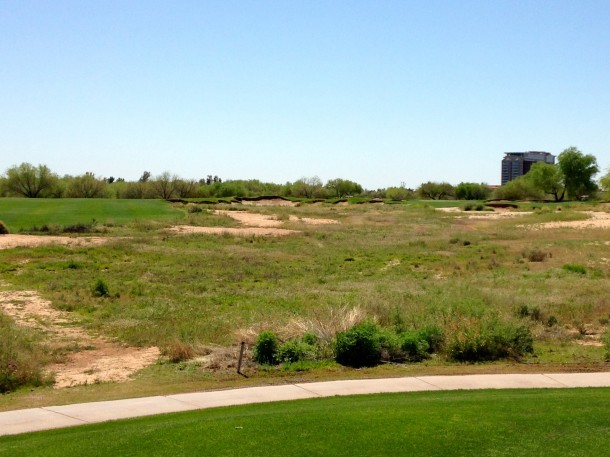
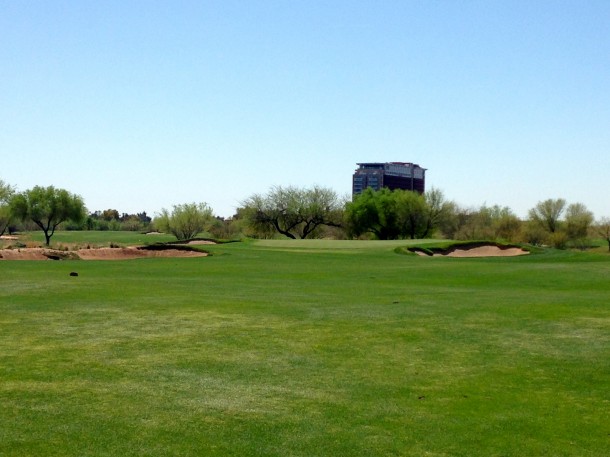
Hole #12 – Par 4 – “Red Mountain Gambler” (392 / 245 yards)
Certainly one of the best par 4s in the Valley of the Sun. Great risk/reward element with the waste area and boundary fence guarding the preferred section of fairway short of the green, while a big bailout on short grass is available on the right.
The approach from the fairway on the left is relatively simple. The waste area creates a challenging approach for the golfer who played it safe and went to the right off the tee.
Looking back it is very easy to see what makes this a brilliant sub-400 yard par 4. You either roll the dice on the drive or the approach – there is no way around it.
Hole # 13 – Par 4 – “Dutchman’s Trail” (391 / 316 yards)
The 13th is another sub-400 yard par 4 that continues along the boundary fence with a slight dogleg to the right. A drive over the bunkers on the leaves the best approach because anything left brings the lone greenside bunker into play.
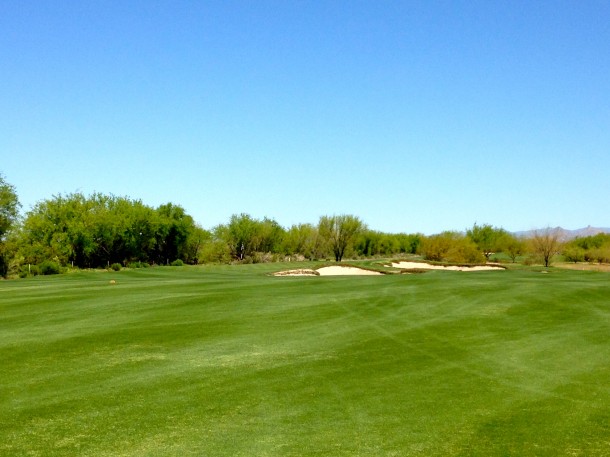
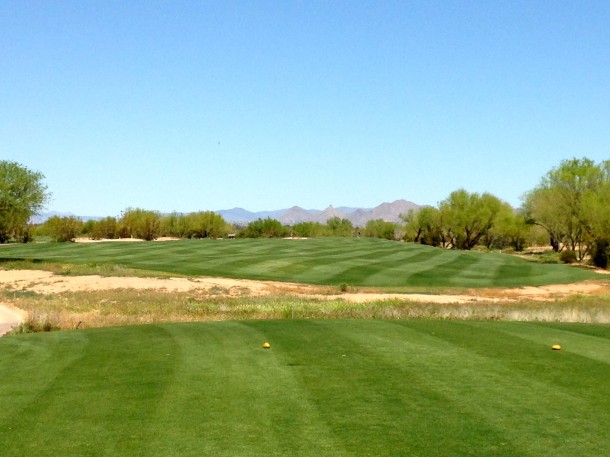
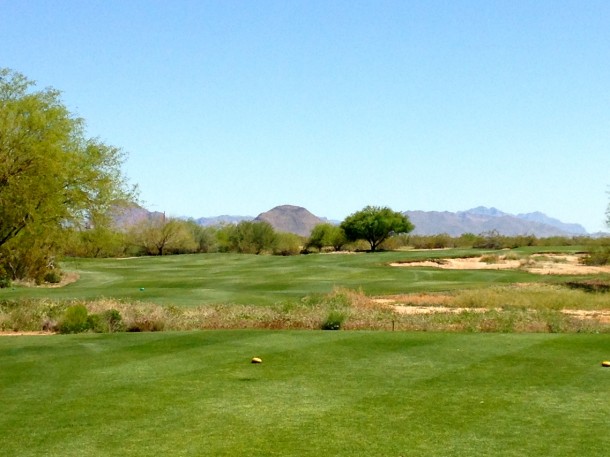
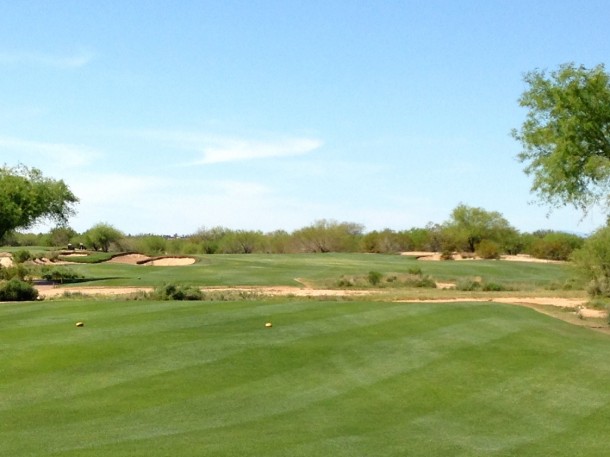
Hole #14 – Par 4 – “Tumbleweed” (445 / 357 yards)
Now the golfer turns around and plays a strong 450 yard two shotter that turns slightly left to a slightly elevated green. You can see the putting surface in the distance and the correct shot shape is definitely a draw over the edge of the bunkers at the right side of the green which will leave an ideal approach angle.
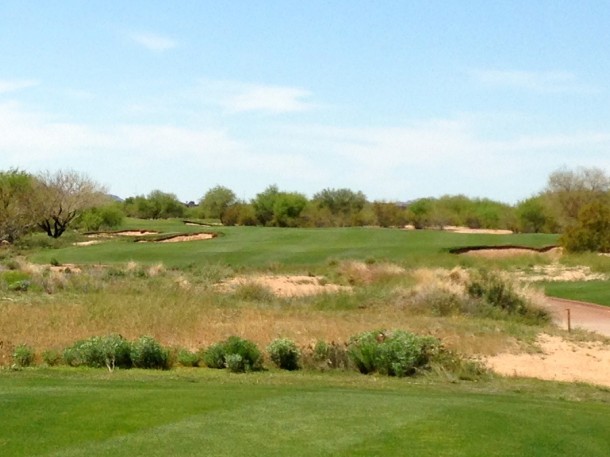
Hole #15 – Par 4 – “Superstitions” (461 / 389 yards)
The 15th plays to just over 450 yards, but in the opposite direction as the 14th. A drive over the waste area to the fairway on the right is preferred . . .
. . . because anything short and left can leave an obstructed view to the pin thanks to the large mound jutting into the fairway.
Hole #16 – Par 3 – “Roadrunner” (194 / 144 yards)
The 16th is a mid to long iron to a 35 yard deep green with interesting internal movement.
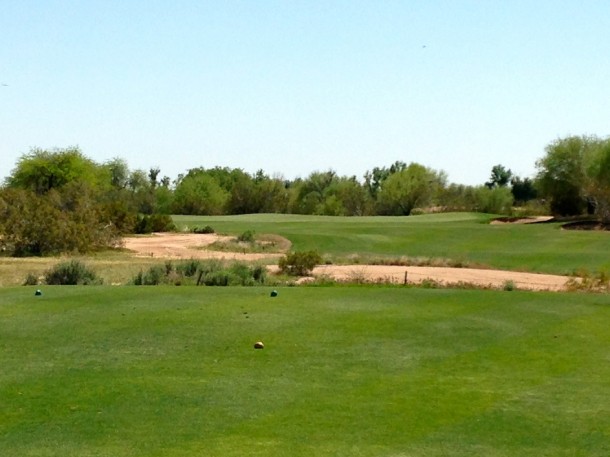
Hole #17 – Par 5 – “Sidewinder” (582 / 484 yards)
The par five 17th has a similar look off the tee as 15, but it will take a couple of serious pokes to get home in two.
There is plenty of width, but any approach that starts to drift right could end up in the bunker, or worse, the ground might kick your ball down into the junk.
Hole #18 – Par 4 – “Trail’s End” (471 / 391 yards)
The opening hole was friendly, while the closing hole is nails. The ideal drive carries the bunker just beyond the waste area and gets a nice kick forward.
Most golfers will have a long approach to the elevated green which has deep bunkers on both sides and a fairly steep fall off on the back. A par to finish your round is a great score.
Talking Stick – North is an excellent golf experience that rates up there with any public or private in Phoenix/Scottsdale. It does not have the varied terrain of We Ko Pa – Saguaro or the rolling land of Southern Dunes, but the excellent architectural design makes the most of a pan flat site. In fact, I can only think of a few private courses in the area that challenge TSN for quality of architecture and walkability. I play Talking Stick on foot all year round, but most golfers will probably shy away from walking during the summer because it gets so hot. That being said, if you tee it on the North Course between October and May, please consider walking so you can take in all of the excellent design elements that flow from tee to green on many holes.
I am usually not a fan of boundary fences on golf courses, but C&C created some of the best holes on the course by using OB. #2, #3, and #12 all have the fence running along the left side of the hole and they are all magnificient. Internally, there is some repetition on the stretch from #7 through #10 and #13 through #15 as holes run up and back, but each is different enough to hold the golfers interest. Greenside bunkers are used carefully throughout the round to dictate strategy off the tee. There is plenty of width for the high handicap golfer to enjoy the round while the low handicapper will need to drive the ball well to set up optimal approach angles to create birdie chances on these firm greens. Finally, C&C moved some dirt around to create a bit of elevation change on the flat site which gets the ball rolling, often, into precarious situations.
The rating below for Talking Stick – North is very high which is justified because it is such a great WALK and that is a large component of TWG’s Walkability Ratings. Of the public courses in the Phoenix/Scottsdale area I would rather play We Ko Pa – Saguaro, and maybe Southern Dunes which is a bit of a drive south, but TSN is definitely the easiest walk of the three and should be near the top of your list to play.
TWG Walkability Rating for Talking Stick – North: 4 out of 4
Photos by Rob Rigg (2013)
Review by Rob Rigg (2013)